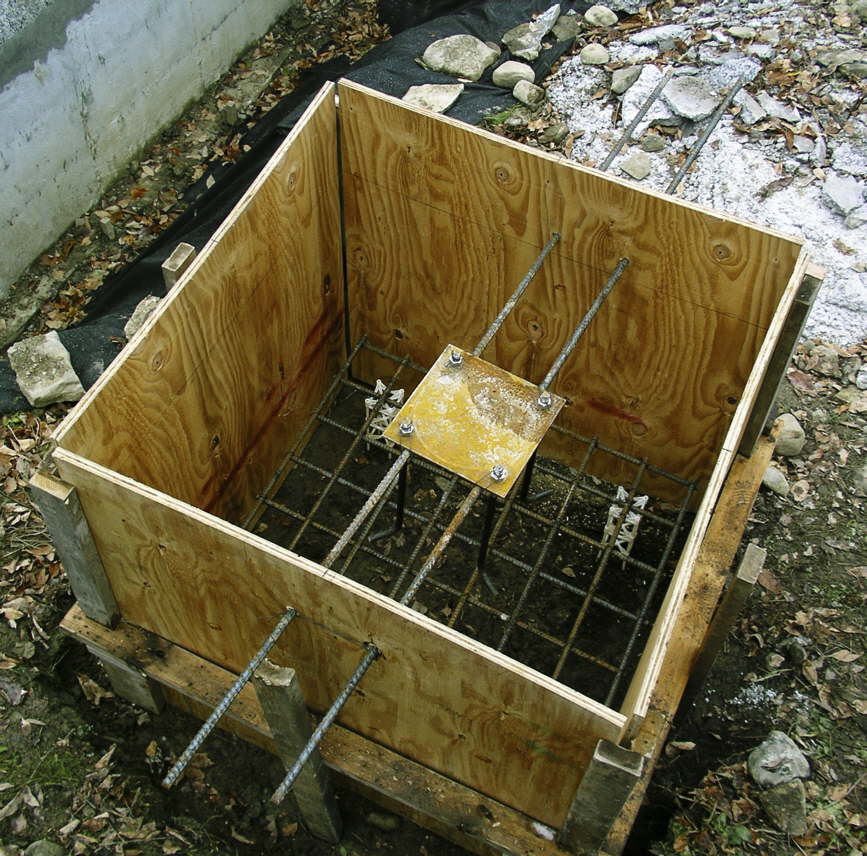
If you look at the drawings for the house on the first page of the project, you'll see that the outer walls of the master bedroom form a reverse curve about midway over the top of the garage. Those heavy walls need more support than just a floor can give, so steel beams run underneath them, meeting in the middle of the garage. This form is for the pad that supports the post which holds up the ends of those beams in the garage. The steel plate is a placeholder for the plate at the bottom of that post, and the rebar holding up that plate is temporary, not part of the pad. The notion is that when it's time to fasten in the post, the plate will be removed and the post will be vertically positioned and leveled on top of the anchors by adjusting the height of nuts on the anchors beneath the post's bottom plate. I'm planning to use two nuts beneath the plate at each anchor, so that once the level is set, the nuts can be locked into place by tightening them against one another. Then the post is removed and the space beneath it is filled with non-shrink grout. Immediately after the grout is poured, the post is replaced, and fastened into its final position by tightening nuts onto the anchors above its bottom plate. I asked Hambro what grout they recommend, and they suggested Sika Construction's SikaGrout 212. However, the grout of that sort that our local supplier has is ChemMasters' Conset Grout. Hambro said that this would be ok, so that's what we're using.
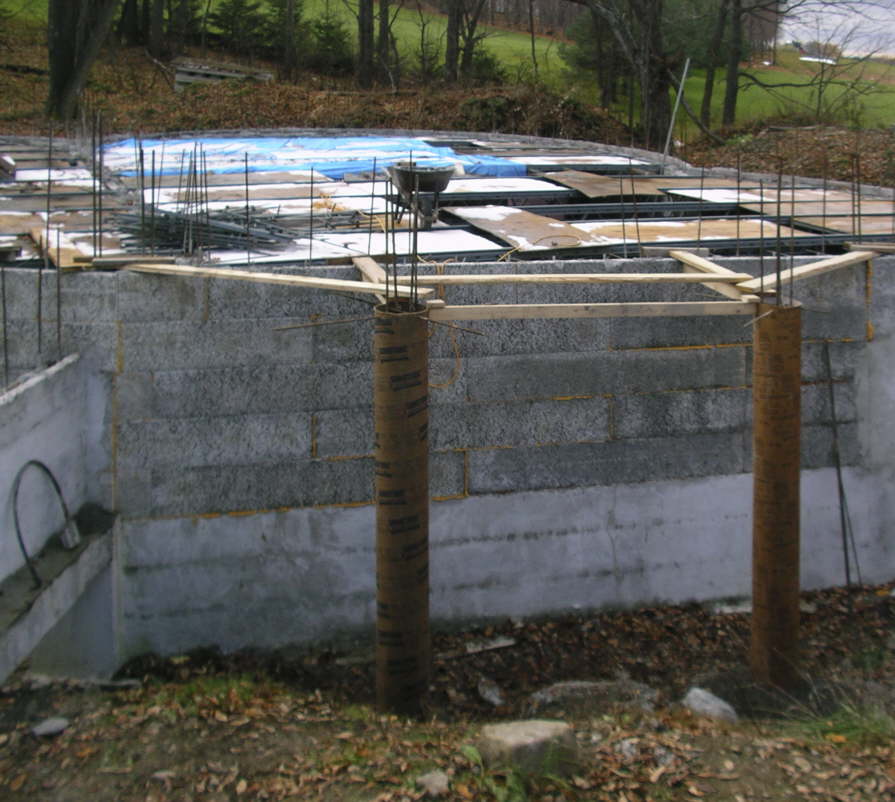
Here's the cardboard tube forms for the columns as they were set up before the pour. What you see around the base of the cardboard is pea gravel, not concrete. We bought the forms on a Saturday, got them in place on Saturday and Sunday, and had the concrete poured the following Monday. When I called for prices on the forms, the closest place had the best price, but only one form, so we bought one EcoForm brand form from JTS Lumber for ~$28, and one Sonotube brand form from a chain hardware store for ~$35. We used the wire tied cross pieces to help hold the vertical rebar plumb and then put the tubes over the top of them, which was tricky, given the location. We held the top of the tubes in position with the wooden framework which was fastened across rebar embedded in the wall. The bottoms were held in place by the pea gravel.
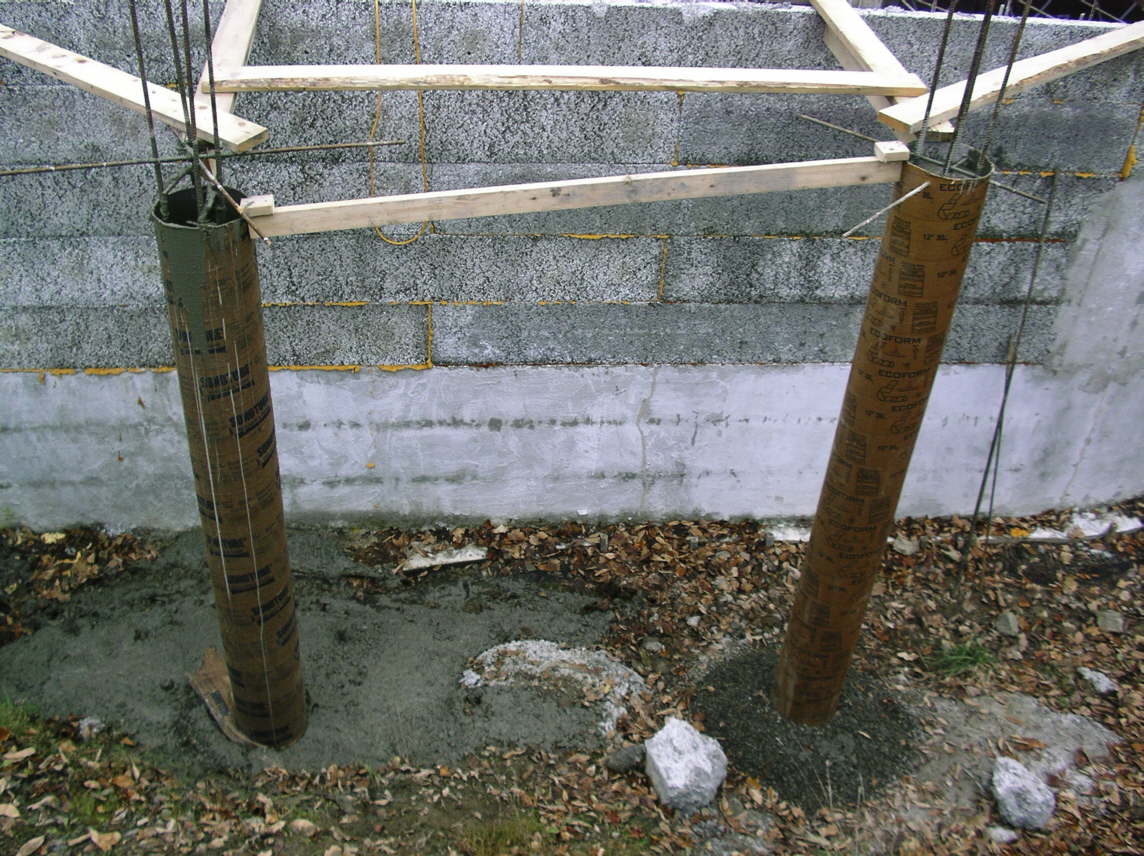
We filled each column, and I used the Rebar Shaker to make sure there were no voids in the concrete. Everything seemed fine for several minutes. The conveyor truck was cleaning up after having dumped the last of the concrete on the top edge of the geotextile felt we put along the slope in the garage, when the Sonotube brand form uncoiled at the bottom and gave way. To their credit, the Sonotube people print lots of caveats on the side of their form, including a warning not to use the form higher than 3 feet above ground without mounding dirt around it for support and one not to vibrate any concrete poured into the form. Needless to say, we'll be using EcoForm brand forms for the rest of the project.